.png)
Hydrostatic Testing: A Pool Leak Testing Guide
pool leaking in austin tx
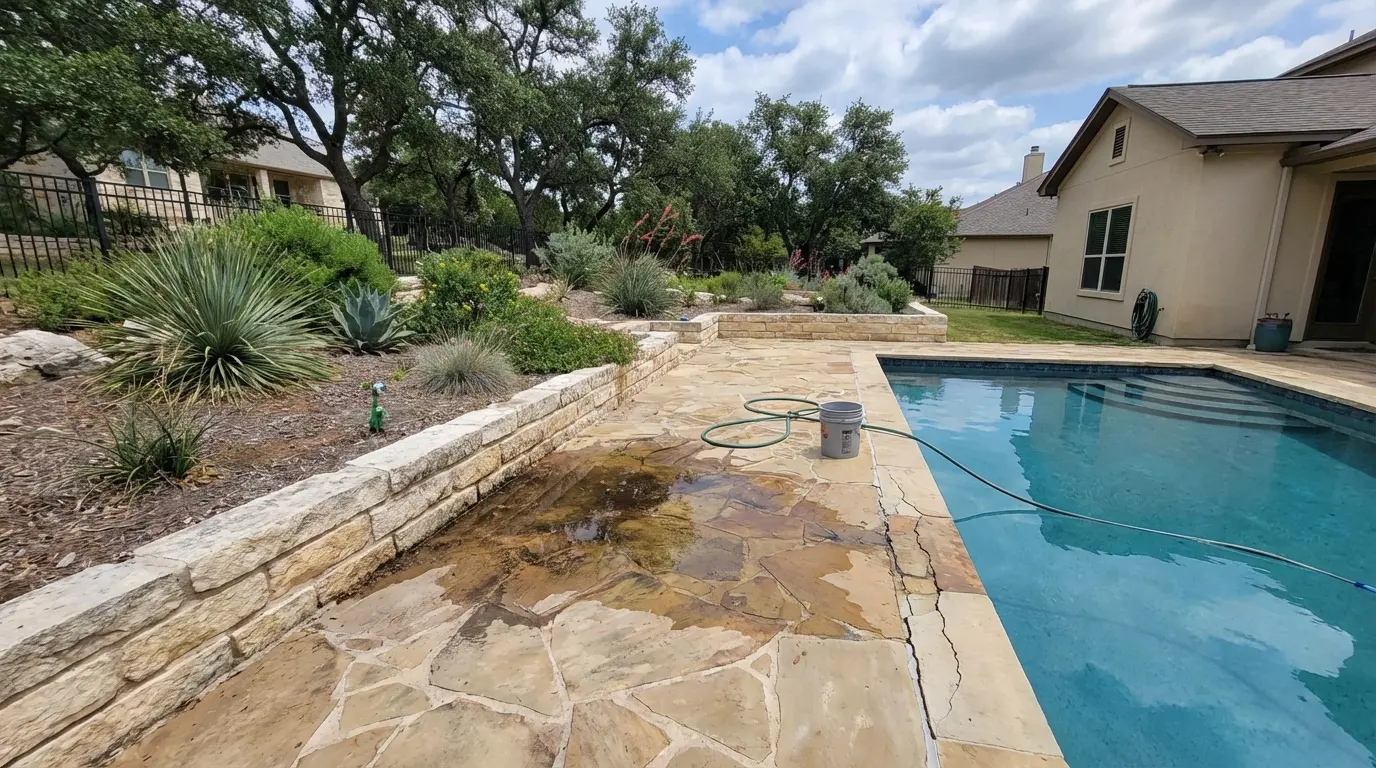
If your pool is losing water but the shell itself looks fine, hydrostatic testing finds hidden leaks in the pipes without having to dig anything up. You might also see this called hydrostatic pressure testing, hydrotesting, or a pipe pressure test, and it’s useful to know those names when you’re reading reports or getting different prices.
Hydrostatic testing is what you do when a look at the surface doesn't doesn't find anything, but you suspect the pipes underground are leaking. Frequently, the problem areas are the pipes that suck water away and return it, the branches of the main drain under the pool's shell, or separate parts of the equipment like heaters, chlorine dispensers, and valves. Leaks in the pool shell or tiling are still found using a visual inspection, dye, or sonar - hydrostatic testing is for when the leak is likely in the pipes you can't see.
Hydrostatic testing is done with dye tests, sonar, and pressure-drop or bubble tests, and it gives you results you can measure and prove, and document. It confirms repairs: if the water pressure holds at a specific level during the test, you get a pass or fail result which is what many people buying the pool, insurance companies, and builders want. It probably won't find a tiny, hairline leak unless the pipes are broken into smaller sections and checked with a camera put inside the pipe, or acoustic listening equipment, so technicians usually do a pressure test and then look more closely at specific areas. Below, we'll explain how the test is done, when it's a good idea to do it, what happens during the test, and how the technicians record what they find and finish the work.
Key Takeaways
- The main thing to remember is that water is put into a section of pipe and pressurized to show up leaks in the ground by measuring how much pressure is lost or looking for where the water is escaping. This gives you a clear pass or fail, and you can get a certificate showing the results.
- Choose this test if things point to the pipes and not the shell. Rapid water loss, damp patches near the equipment, soft ground, or the water level dropping for no reason all suggest a leak in the pipes that a pressure test can confirm without digging.
- Before you test, look at the equipment and connections you can see, separate the section of pipe you think has the leak, set a safe pressure, and watch for the pressure to drop or water to come out, taking photos of what you find.
- But keep in mind that while hydrostatic testing proves a leak exists, it doesn't necessarily show exactly where a very small or hairline crack is. You’ll need to use other inspection methods to find the exact location - dye, sonar, or a camera in the pipe.
- Always follow safety rules, wear the right protective gear and use accurate gauges. And, for accurate results, a report the same day, and a plan for fixing the problem in the right place, use a professional certified by Leaktronics.
How hydrostatic testing quickly finds pool leaks?
The test finds leaks by filling a section of pipe with water and increasing the pressure, then looking for the pressure to go down or water to escape. The technician fills the pipe completely, lets any trapped air out of the highest points, and then slowly raises the pressure to a safe level for the type and age of the pipe. If there's a hole, water will escape, or the gauge will show a drop in pressure. This means leaks that are hidden underground can be found without digging right away. Once the pressure change shows a leak, the technicians break the section into even smaller parts and use cameras, coloured dye, or sound-detecting equipment to find the exact place to repair it before any digging or cutting happens.
When to have a hydrostatic test done on your pool?
Look for clues that suggest the problem isn't the shell itself, but the pipes under the ground or the equipment. Typical clues are losing water every day that isn't from evaporation, the water level going down suddenly or all the time, soft or wet areas where the pipes are buried or along the edge of the pool, frequently having to add water, or a loss of pressure or bubbling in the water circulation. These point to leaks in the underground pipes, connections, or equipment and a pressure test can confirm it.
There are some times when a hydrostatic test is the logical next step: after digging a trench and filling it in again, after the pump or heater have been replaced, after damage from a storm or freezing weather, or when you're selling the pool and need official documentation. When a basic look and dye tests don't give you an answer, a focused pressure test prevents guessing and digging where you don't need to.
Do some cheaper checks first, to save time and money before doing the full test. How quickly the water evaporates (using a bucket test), tracing dye into the skimmer and return pipes, looking for loose connections on the equipment pad, and having a professional listen for air or a hissing sound are all things to try. If these don't find the leak, get a certified specialist to do a hydrostatic test. They will isolate the section of pipe, set a safe pressure, and give you a clear report of the results, so the repair can be done in the precise spot.
Step-by-step: performing a pool hydrostatic test safely
- Pre-test inspection and preparation: check visible fittings, valves, and equipment for cracks, sun damage, or past repairs; confirm pipe and fitting age and pressure ratings; close bypasses and lock or tag valve positions; secure or remove exposed skimmer parts and fittings.
- Fill and purge: fill the isolated run with potable water or an approved test medium and purge all trapped air from high points; if water will remain in the lines for hours, add approved corrosion inhibitors where compatible.
- Pressurize and monitor: raise pressure slowly to the selected hydrostatic testing level based on pipe material and age; use conservative pressures on older materials and hold for an initial observational period (commonly 10 to 30 minutes), extending the hold time as required for documentation or local codes while monitoring gauges during buildup and hold.
- Isolate, pinpoint, repair, and retest: if pressure changes occur, isolate subsections by closing valves to narrow the location; use dye, listening devices, or a pipe camera to confirm the leak before digging; document the confirmed location, coordinate repairs, then retest after repairs are complete.
Standards, records, and interpreting test certificates
Before you accept a certificate, know which standards apply to your test. Pressure testing is governed by various standards, but pool work typically falls under local plumbing codes and manufacturer instructions. A test performed to the wrong standard can be rejected by a buyer, insurer, or permitting authority, so the governing specification determines test pressures, hold times, and acceptable leakage limits.
A complete hydrostatic test certificate should include system identification (address or drawing reference), test medium and conditions, test pressure and specified hold time, gauge and calibration references and tolerances, date, technician name and credentials, and a pass/fail statement with accompanying photos or diagrams. Having these items on the certificate speeds contractor coordination, permit approval, and any insurance claims.
Reading results means comparing any pressure change to the instrument accuracy and watching for visible leaks or deformation. Typical acceptance rules are no measurable pressure loss beyond gauge tolerance during the hold period, no dripping from fittings, and no permanent bulging. If the test fails, isolate the failed section, make documented repairs, then retest and update the record before closing the job.
Safety best practices and environmental controls
Safety should be the first concern when pressurizing pool plumbing. Never stand over pressurized fittings, keep bystanders at a safe distance while charging the system, isolate electrical sources, and wear appropriate PPE. Use water rather than air as the primary test medium whenever possible because liquids absorb energy and reduce rupture risk; air-only tests increase stored energy and should be reserved for qualified technicians with engineered controls and blast protection.
Protect equipment with certified gauges, relief devices, and properly rated components. Use NIST-traceable, liquid-filled gauges, install pressure reliefs sized to the system, and verify hose and stopple ratings before pressurizing. Document gauge calibration and attach pressure recorders when a certified result is required so you have a tamper-evident pressure history that supports repairs, warranties, or code compliance.
Handle test water responsibly and follow environmental regulations. Do not discharge chemically treated or contaminated test water to storm drains; capture, neutralize, or send it to the sanitary sewer according to local wastewater rules and your utility's requirements. If you plan a long sit, add compatible corrosion inhibitors and label captured water for proper disposal. Check Austin ordinances or your local rules on discharge and reporting before you test your pool.
Hiring a pro and what Austin Pool Leak Detection delivers
Austin Pool Leak Detection treats each hydrostatic check as both a diagnostic and a documentation service. Leaktronics-certified technicians use calibrated equipment, photographic evidence, and a written hydrostatic test certificate delivered same-day so you have proof for repairs or insurance. The company follows a "find it or keep looking" guarantee and coordinates with contractors to target fixes precisely, saving water and reducing the risk of structural damage. That same focus on water conservation helps customers cut recurring losses and avoid higher bills.
Checklist for contractors
- Ask whether the company is Leaktronics-certified and carries current insurance. Request documentation to confirm both before work begins.
- Request a recent sample hydrostatic test certificate that includes photos. The certificate should show test pressures, hold times, gauge calibration, and a clear pass/fail statement.
- Ask how the technician determines safe test pressure for your pipes and fittings. They should base the pressure on pipe material, age, and manufacturer limits rather than a one-size-fits-all number.
- Confirm cleanup and disposal plans if excavation is required. The contractor should follow local disposal rules for test water and debris and leave the site tidy.
Most residential hydrostatic checks take a few hours, though complexity, depth of plumbing, and any excavation needed will add time and cost. Insist on calibrated instruments and documented results so repairs are targeted and justified.
Hydrostatic testing: next steps to protect your pool
Hydrostatic testing is a fast, definitive method to find leaks that live in plumbing and equipment rather than the shell. It isolates a run, confirms a leak quickly, and helps you avoid guesswork and unnecessary digging. The best use cases are when preliminary signs point away from the shell and toward buried lines or the equipment pad.
Inspect the equipment area for damp soil, puddles, or steady bubbling at returns and take photos to document what you find. A quick visual check plus a pressure test gives concrete answers and helps prevent larger damage and higher water bills.
.png)